How to set up REST Assured with TestNG and Maven in IntelliJ IDEA
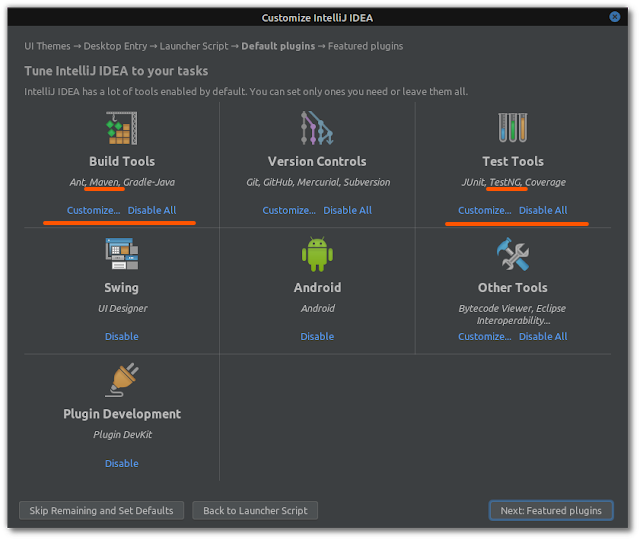
Okay! you've used eclipse for testing automation scripts since ages but there's a world beyond that as well. Today we'll learn how to setup REST Assured in IntelliJ IDEA with TestNG and Maven. There's not much to do since IntelliJ IDEA has both TestNG and Maven built in. We need to make sure that during installation we've selected these plugins to be installed.
Setting up the project
Step 1: Creating a new project
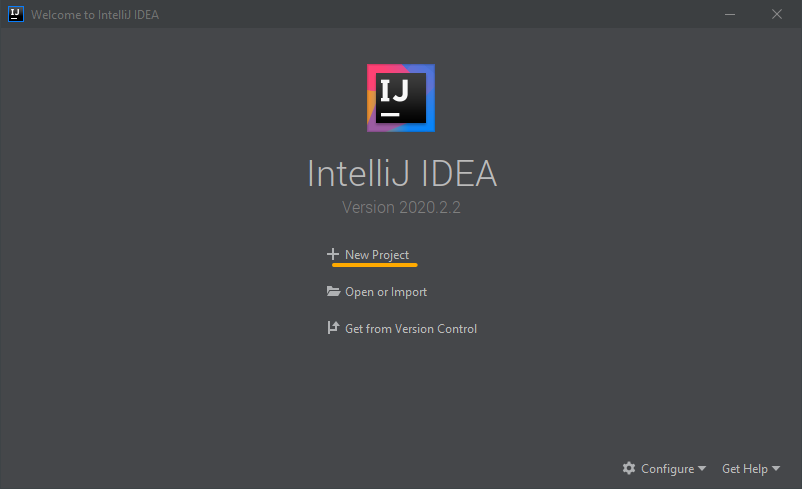
To create a new project open the IntelliJ IDEA editor and choose New Project.
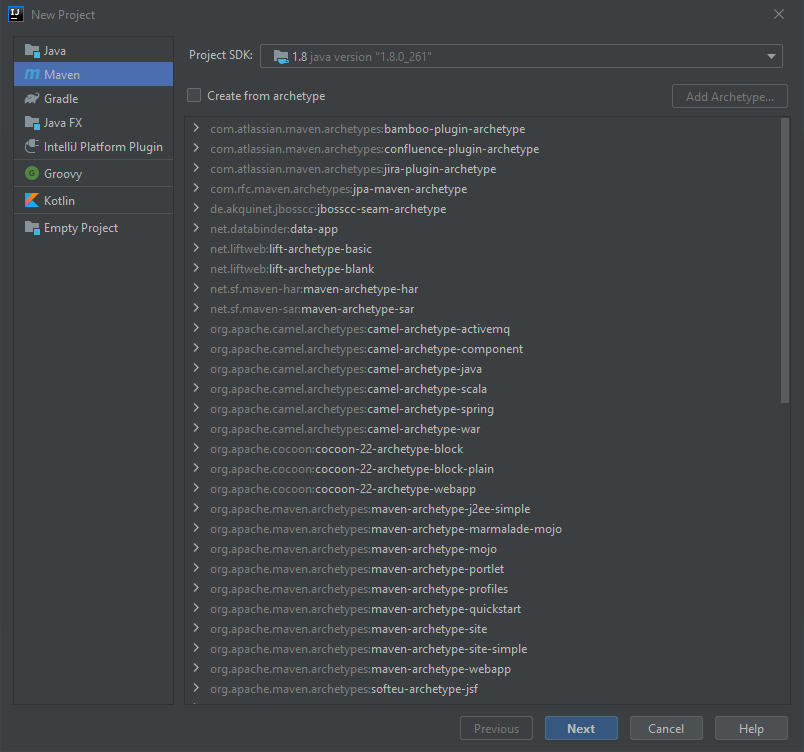
Then choose maven from the list and click next.
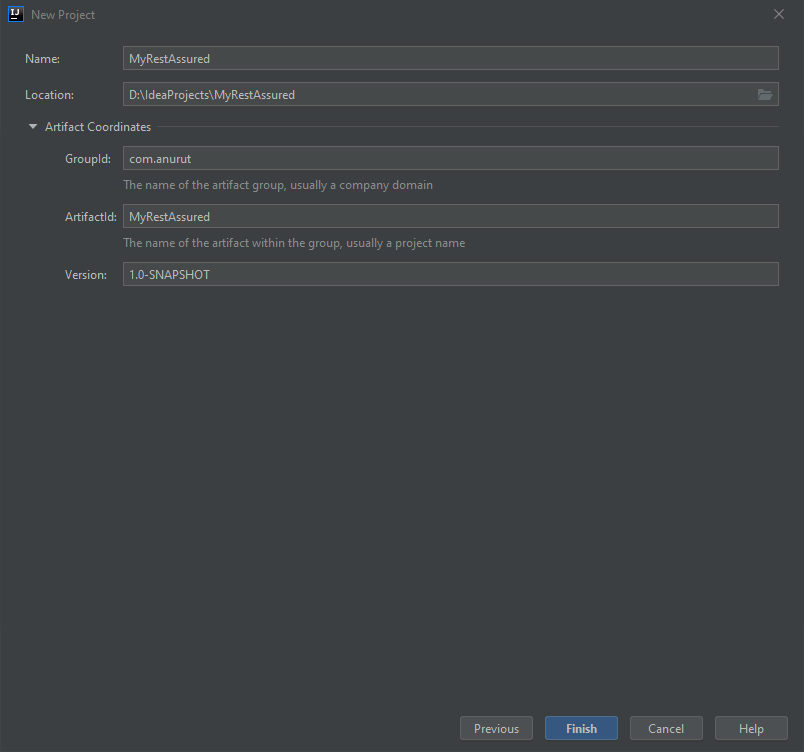
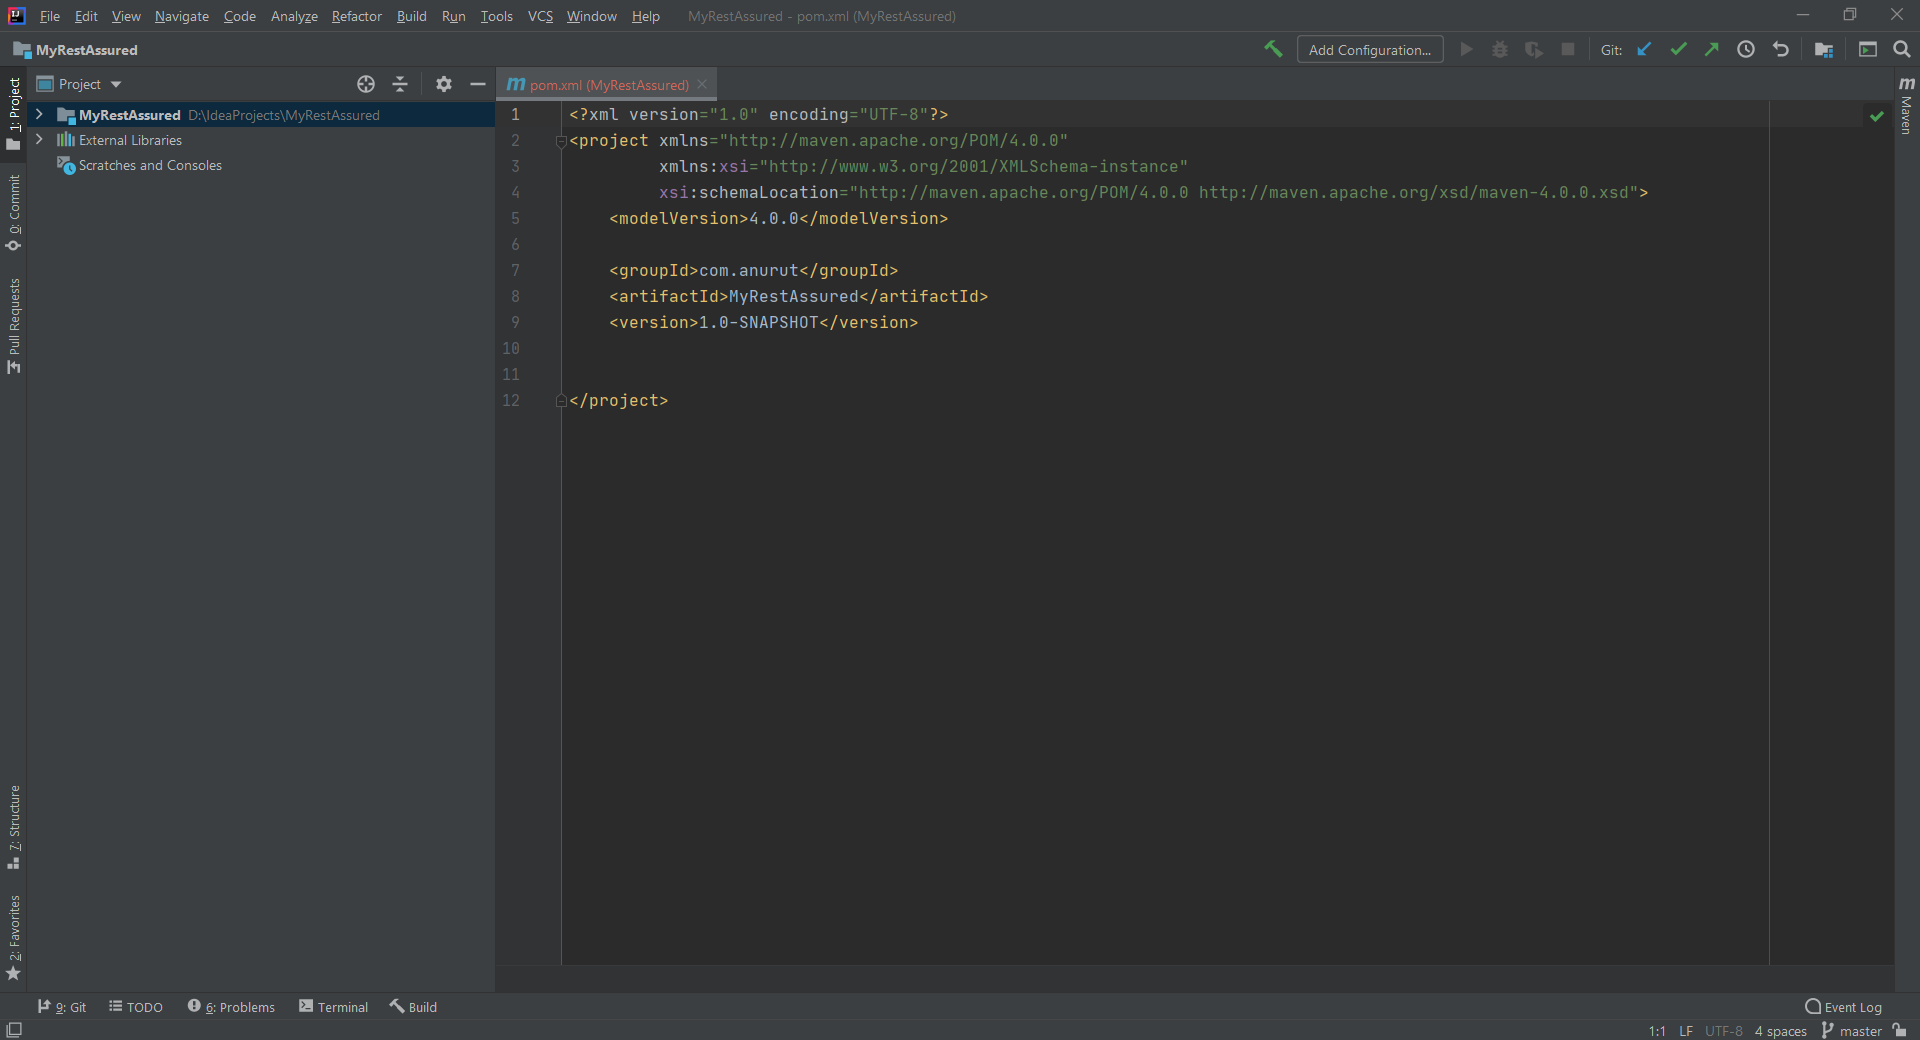
Name your project and click next. I've chosen my project to be stored in D:/IdeaProjects , you can save wherever you wish.
This is what your project will look like
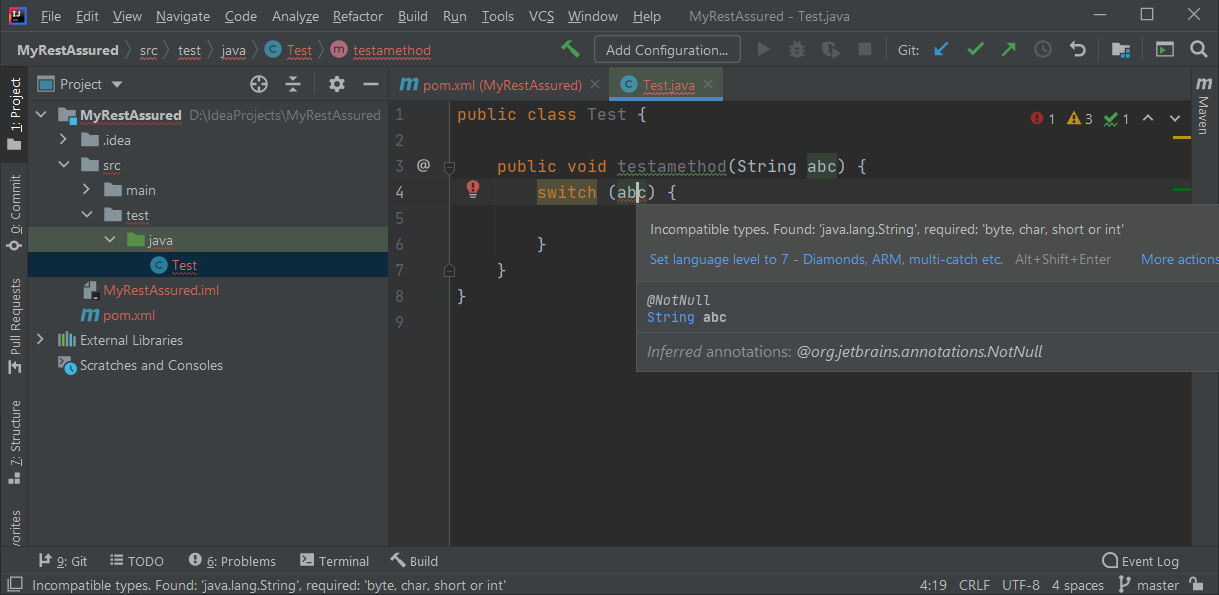
Congratulations! you've successfully created your first maven project. But, if you're using jdk 1.8 and higher, you won't be able to utilize it's full potential yet. For example if you try to use switch case on a string, you won't be able to do that.
Step 2: Setting compiler source and target to 1.8 (or any other)
To get rid of the above issue, open pom.xml file and insert the following just below the <modelVersion>4.0.0</modelVersion> tag.
<properties>
    <project.build.sourceEncoding>UTF-8</project.build.sourceEncoding
        <maven.compiler.source>1.8</maven.compiler.source
        <maven.compiler.target>1.8</maven.compiler.target>
</properties>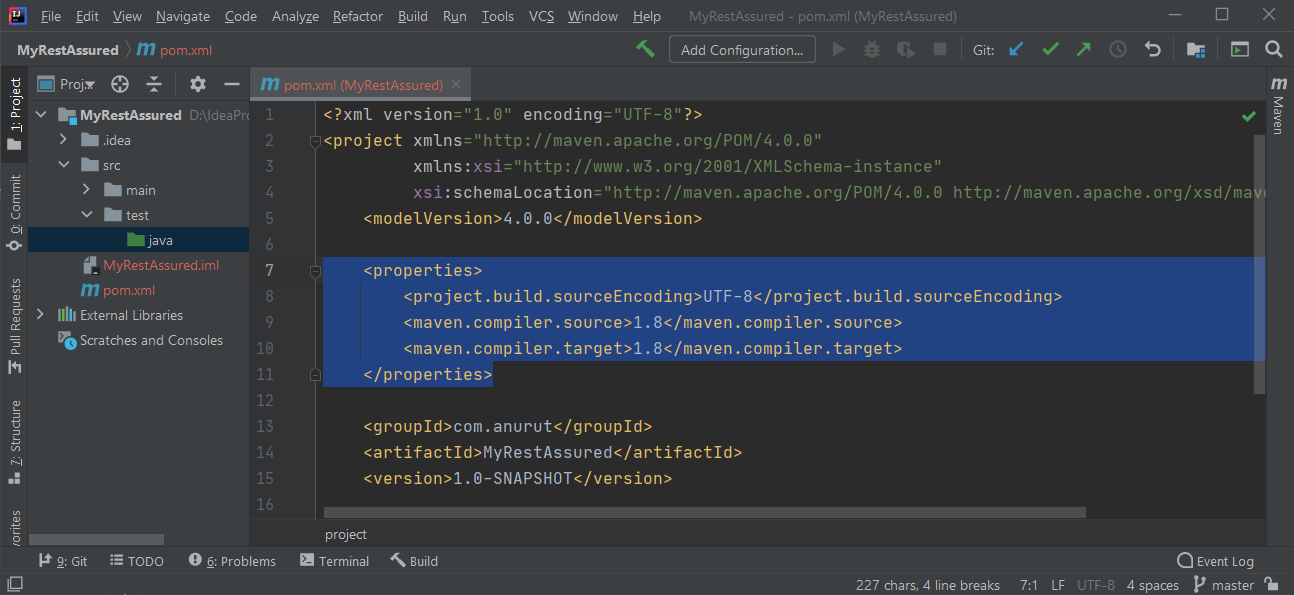
You'll observe that now you no longer have the above issue.
Step 3: Adding REST Assured dependencies
Because we're using maven as the build framework we need to add dependencies accordingly. You can go to this link and check out all the REST Assured dependencies or you can copy from below.
<dependencies>
    <dependency>
        <groupId>io.rest-assured</groupId>
        <artifactId>json-schema-validator</artifactId>
        <version>4.3.1</version>
    </dependency>
    <dependency>
        <groupId>io.rest-assured</groupId>
        <artifactId>json-path</artifactId>
        <version>4.3.1</version>
    </dependency>
    <dependency>
        <groupId>io.rest-assured</groupId>
        <artifactId>xml-path</artifactId>
        <version>4.3.1</version>
    </dependency>
    <dependency>
        <groupId>io.rest-assured</groupId>
        <artifactId>spring-mock-mvc</artifactId>
        <version>4.3.1</version>
        <scope>test</scope>
    </dependency>
    <dependency>
        <groupId>io.rest-assured</groupId>
        <artifactId>scala-support</artifactId>
        <version>4.3.1</version>
        <scope>test</scope>
    </dependency>
    <dependency>
        <groupId>io.rest-assured</groupId>
        <artifactId>rest-assured-common</artifactId>
        <version>4.3.1</version>
    </dependency>
    <dependency>
        <groupId>io.rest-assured</groupId>
        <artifactId>spring-commons</artifactId>
        <version>4.3.1</version>
    </dependency>
    <dependency>
        <groupId>io.rest-assured</groupId>
        <artifactId>spring-web-test-client</artifactId>
        <version>4.3.1</version>
    </dependency>
    <dependency>
        <groupId>io.rest-assured</groupId>
        <artifactId>rest-assured-parent</artifactId>
        <version>4.3.1</version>
        <type>pom</type>
    </dependency>
</dependencies>
If you are using java 1.9 or higher then you don't need all these dependencies. In that case you can use only this one below.
<dependencies>
    <dependency>
        <groupId>io.rest-assured</groupId>
        <artifactId>rest-assured-all</artifactId>
        <version>4.3.1</version>
    </dependency>
</dependencies>
Step 4: Adding TestNG dependencies
There's just one dependency to add to enable TestNG in the project. Don't forget to add this in between the <dependencies></dependencies> tag.
<dependency>
    <groupId>org.testng</groupId>
    <artifactId>testng</artifactId>
    <version>7.3.0</version>
    <scope>test</scope>
</dependency>
Step 5: Creating your first REST Assured test case
To create a test case class click on > next to the src folder and then click the > next to test folder in the project window. You'll see a folder named java.

Right click on the java folder and choose new > Java Class and name it TestCases and press Enter.

This will create a new java class named TestCase.java in the java folder. Double click on it to open it in the editor.
Now copy and paste the following in it.
import org.testng.annotations.Test;

import static io.restassured.RestAssured.given;

public class TestCases {

    @Test
    public void firstTestCase() {
        String url = "https://reqres.in/api/users?page=2";
        given()
                .when()
                .get(url)
                .then()
                .assertThat()
                .statusCode(200);
    }
}
Now to create the testNG.xml file right click on the Project name [MyRestAssured] > New > file and name it testng.xml and open it. Then copy and paste the content from below.
<?xml version="1.0" encoding="UTF-8"?>
<!DOCTYPE suite SYSTEM "http://testng.org/testng-1.0.dtd">
<suite name="All Test Suite">
    <test verbose="2" preserve-order="true" name="First Test Case">
        <classes>
            <class name="TestCases"/>
        </classes>
    </test>
</suite>Step 6: Create TestNG configuration (to enable IntelliJ IDEA to run testng.xml file)
We've created the testng.xml file but it won't run in the editor. We have to create a run configuration. To do that click on Add Configuration next to the build icon.

And now click on the + icon on top left, then TestNG.
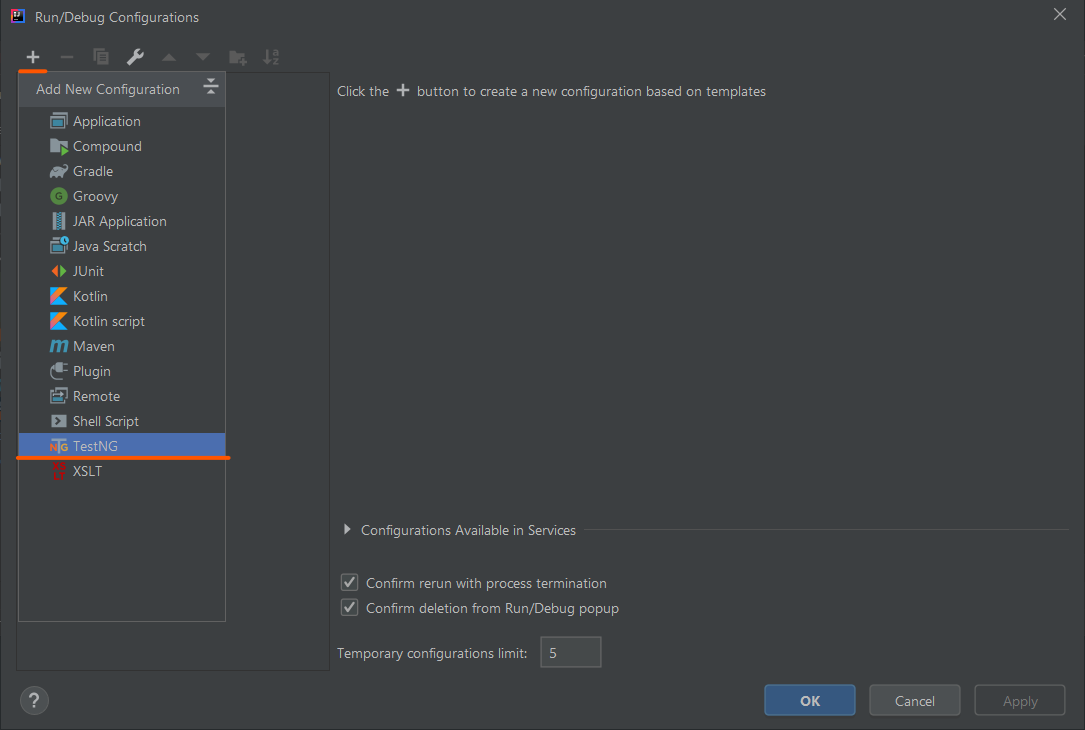
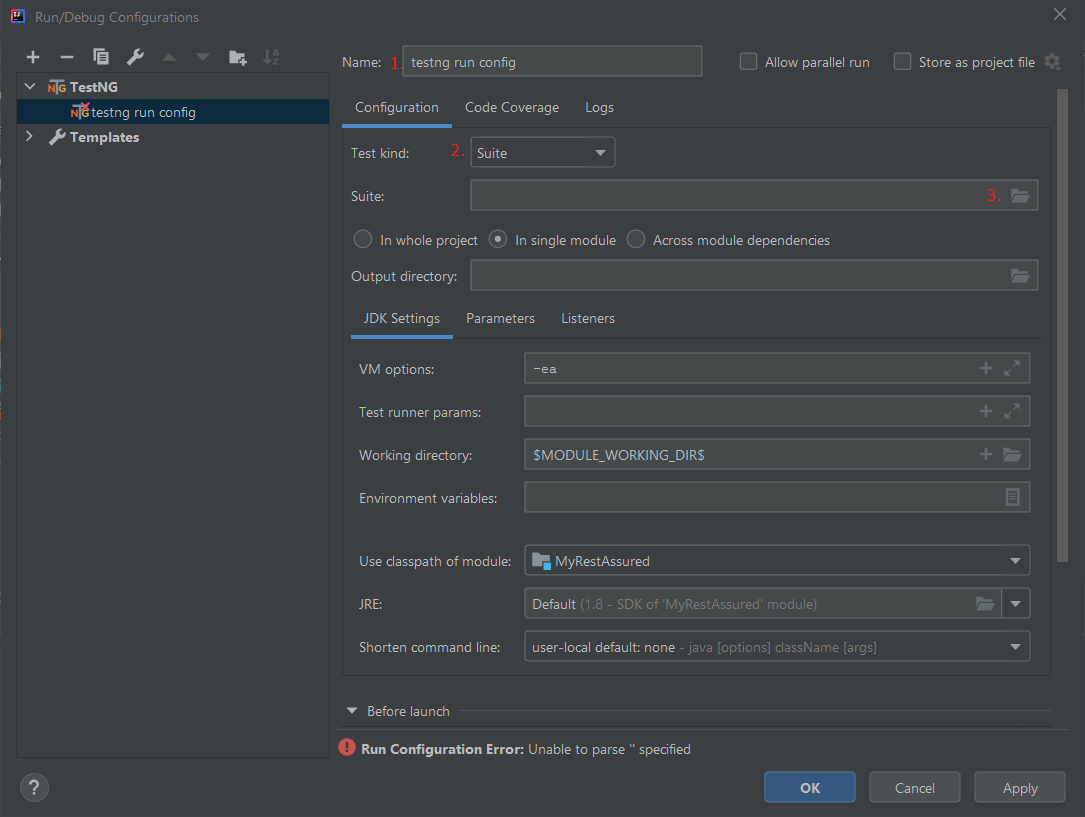
In the new window opened.
- Name the config.
- Choose
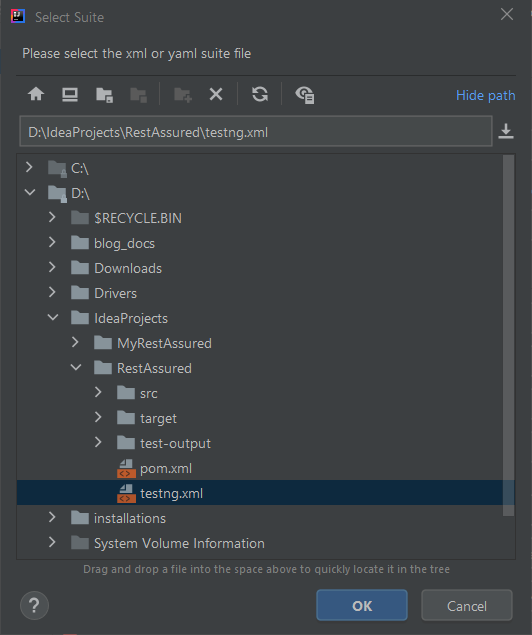
suitefrom the drop down menu. - Click on the folder icon to select
testng.xmlfile you want to run. - Click
OKto select and then again to finish creating the config.
Finally you'll see your config in the run config box and to run, simply click the

green play button next to it. And off you go with running TestNG in IntelliJ IDEA.
Wait wait wait !!! we're not done yet. You might have noticed that no test report html has been generated yet. Because we haven't added any listeners to the configuration.
Step 7: Add listeners to TestNG run configuration
TestNG needs listeners to capture events such as a test failure or a test passed. To add listeners in the testng.xml add the following to the file.
<listeners>
    <listener class-name="org.testng.reporters.EmailableReporter"/>
    <listener class-name="org.testng.reporters.FailedReporter"/>
</listeners>
Finally! (phew) we've set up REST Assured with TestNG and Maven.
Ready for some testing?